

Despite your best efforts, you may no longer trust artifacts, keys, or identities when signing software. A container might turn out to have vulnerabilities, a key might be lost, or worse: a trusted account could be compromised.
There’s a myth that Sigstore makes revocation harder; in fact, the opposite is true! While it is true that the signatures on software are stored forever, software verification using Sigstore does support artifact revocation. Further, Sigstore allows after-the-fact auditing to help organizations understand the extent of a compromise, and Sigstore makes discovering compromises in the first place easier by posting signatures on a transparency log.
Sigstore can check that signatures are valid, but having any signature doesn’t tell you much: it might be the attacker’s! Instead, your organization could check against your CI system’s public key or require signatures from specific identities. Compliance with such a policy can be as simple as running cosign verify --key, or it could involve an external policy engine like Kyverno, or even custom tooling. The revocation process is tied to both the policy used to verify signatures and the tools used to enforce that policy.
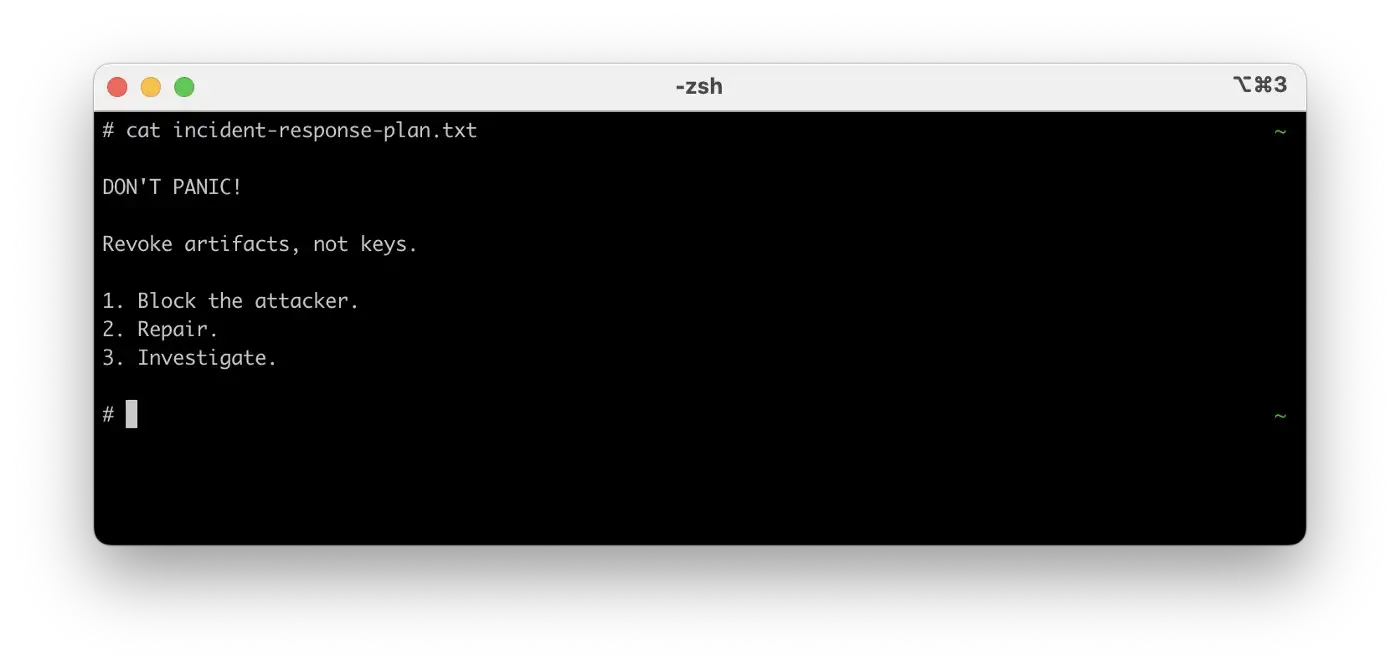
In this article, we’ll cover revocation in the keyless setting for deployments to Amazon ECS, but it should be possible to adapt these techniques to any setting. We provide an example recovery process that includes blocking the attacker, fixing the damage, and investigating the incident. This process can form the basis of a playbook for any organization using Sigstore to verify software.
Handling a compromise
In the event of a compromised account, the first thing to do is contain the situation: prevent the attacker from deploying new images, and removing possibly malicious images from production.
We’ll walk through an example where we’re using an admissions controller like the one described in How to verify Cosigned container images in Amazon ECS to enforce that all images have a signature from either dev.a@example.com *or*`dev.b@example.com. In this example, we have just observed that the account dev.a@example.com` deployed a signed image containing a malicious application. We note that the general ideas in this example apply to other deployment, validation, and compromise scenarios, but the details may vary.
Step 1: Block the attacker
First, we want to make sure that the compromised identity can’t continue to deploy new, bad images.
In our setting, we use an AWS Lambda function to enforce the verification policy. The Go code enforcing our validation policy might look something like the following:
func isValid(ctx context.Context, co CheckOpts, image string) bool {
    allowedDevs := [ "dev.a@example.com", "dev.b@example.com" ]
    for _, dev := range allowedDevs {
        co.CertEmail = dev
        sigs, _, err := cosign.VerifyImageSignatures(ctx, image, co)
        if len(sigs) == 1 && err == nil {
            return true // ANY signature means the image is valid
        }
    }
    return false
}
We can simply change the list of allowed developers to remove dev.a@example.com and redeploy the CloudFormation template as in the original post. This will prevent any images signed only by that account from being deployed again.
It’s also prudent to revoke the dev.a@example.com account’s IAM credentials in AWS (along with any other services used for deployment and development), and to remove the bad image from the container registry (consider saving it offline to aid with later investigations).
Step 2: Repair
However, any malicious images deployed during the compromise might still be running; we want to replace them with known-good builds.
Typically, the safest way to do this is a full rebuild and redeployment of all of your images. Note, however, that this can cause issues with availability: the new builds need to be signed by one of the remaining valid keys; if any were signed only by the compromised accounts, they may not pass validation. It may also take a long time, depending on how many containers there are. Otherwise, if you can identify all of the containers running with compromised images, they can be deployed by either rolling back or rebuilding.
This process is substantially easier if you have continuous deployment set up in your organization. Look to SLSA for several recommendations for deployment security that also enable swift repair in the event of a compromise.
Step 3: Investigate
The above steps stop that malicious code from running, but the incident isn’t quite over. We need to understand the extent of the compromise. Was any data leaked? Can we recover the compromised account? How was the account compromised? Did malicious source code make it into your repository, or was it just the image? This forensic work is complicated and involved, and usually there are incident response security firms that help resolve these questions.
However, Sigstore makes this forensic phase much easier. It uses a transparency log, requiring that a signature be present in a public log before we accept it as a valid signature. This forces an attacker to “move in the open:” any malicious signatures they create will be present in the log (otherwise, they would be useless).
We can query Rekor, Sigstore’s transparency log, to see all of the images the compromised account signed using rekor-cli (below data is simulated based on a real query):
$ rekor-cli search --email dev.a@example.com
Found matching entries (listed by UUID):
34254e36f153a41f0a9d74280215a5ed7a11f840c13615a61c08a1d23280410f
4241dace4d72a5974ee287065eaa9378949ccf5367e7b59e9528544b1ec9a949
005cedaf3718134d7fbbe6f3d9ba775e852802756cb8aa43506d21657bce749d
[...]
This gives Rekor UUIDs for all of developer A’s signatures. From there, we can investigate artifacts individually (output edited for concision):
$ rekor-cli get --uuid 00<snip>bcd749c
LogID: c0<snip>91801d
Index: 1763200
IntegratedTime: 2022–03–22T17:10:11Z
UUID: 00<snip>cd749c
Body: {
  "HashedRekordObj": {
    "data": {
      "hash": {
        "algorithm": "sha256",
        "value": "c8<snip>009210"
      }
    },
    "signature": {
      "content": "ME<snip>vrTXQ=",
      "publicKey": {
        "content": "<omitted for concision>"
      }
    }
  }
}
It might be useful to filter based on the IntegratedTime field. Then, the real owner of dev.a@example.com can help narrow down when the compromise happened. This information can be very helpful in the post-incident investigation: it gives you a complete list of the image digests to look out for.
In addition to malicious Sigstore signatures, the compromised account may have done other unauthorized actions, so make sure to check any systems that account could access such as CI, source control, or cloud providers.
Once the investigation concludes, you can loosen controls on compromised accounts that have been recovered. This is possible because Sigstore uses ephemeral keys in the “keyless” setting. However, in a setting with long-lived keys that have been compromised, they must be replaced.
Yanking a single image
The case where a single image is compromised is simpler, since we don’t need to worry about a compromised account.
Start by rebuilding and redeploying the image. This step isn’t quite sufficient: in addition, add the image (referenced by its digest, the string beginning with sha256:) to a blocklist:
func isValid(image string) bool {
    blocklist := [ "sha256:c8<snip>009210" ]
    for _, badImage := range blocklist {
        if image == badImage {
            return false
        }
    }
    // [...]
    // verify as before
}
This prevents a future attacker from tricking you into running the same image later on, because it would still otherwise still be considered valid!
In fact, this step looks a lot like the process of identifying images with vulnerabilities — if you use vulnerability scanning infrastructure as part of your organization’s admission criteria, you can add this image to a blocklist there.
Early detection with Sigstore
Sigstore can also help with detecting compromises. Because signatures must be posted to a transparency log, your organization can look for any signatures issued by any identities in your domain. Currently, this filtering needs to be done manually; soon, we hope to have the building blocks in place to spin up monitors for your organization easily.
You can use this stream of data to inform policies (limiting each identity to only the images they need to push regularly) and monitor for anomalies (users signing an unusually large number of images, or pushing to repositories they don’t normally access) and inconsistencies (artifacts represented in the transparency log but not your build logs).
Conclusion
Sigstore, especially in keyless mode, provides many advantages in the event of a compromise. First, its use of transparency logs allows organizations to more quickly understand the extent of a compromise, and investigate after the fact. Second, because Sigstore prioritizes identities over specific keys, we can recover a temporarily compromised account and continue including it in policies in the long term.
Revocation is a tricky problem: web PKI revocation has gone through many iterations, such as CRLs and OCSP. Even so, more work remains: researchers have proposed technologies such as CRLite and revocation transparency to help clients check for revoked certificates. However, our setting involves a trusted admissions controller that we can reliably deploy and a relatively succinct verification policy, so we can ignore issues like DoS attacks, long revocation lists, and offline checks for revocation. A future blog post will cover more advanced revocation needs and how Sigstore can help.
Using Sigstore equips your organization to better respond to compromise incidents. Learn more about it on the web site, and join the community on Slack and GitHub!